HomeBlogBlogLayered Texture Tablescape Checklist for Cozy to Elegant

Layered Texture Tablescape Checklist for Cozy to Elegant

Layered Texture Tablescape Checklist for Cozy to Elegant

How to Create a Layered Texture Tablescape: A Step-by-Step Checklist for Stunning, Lived-In Table Design

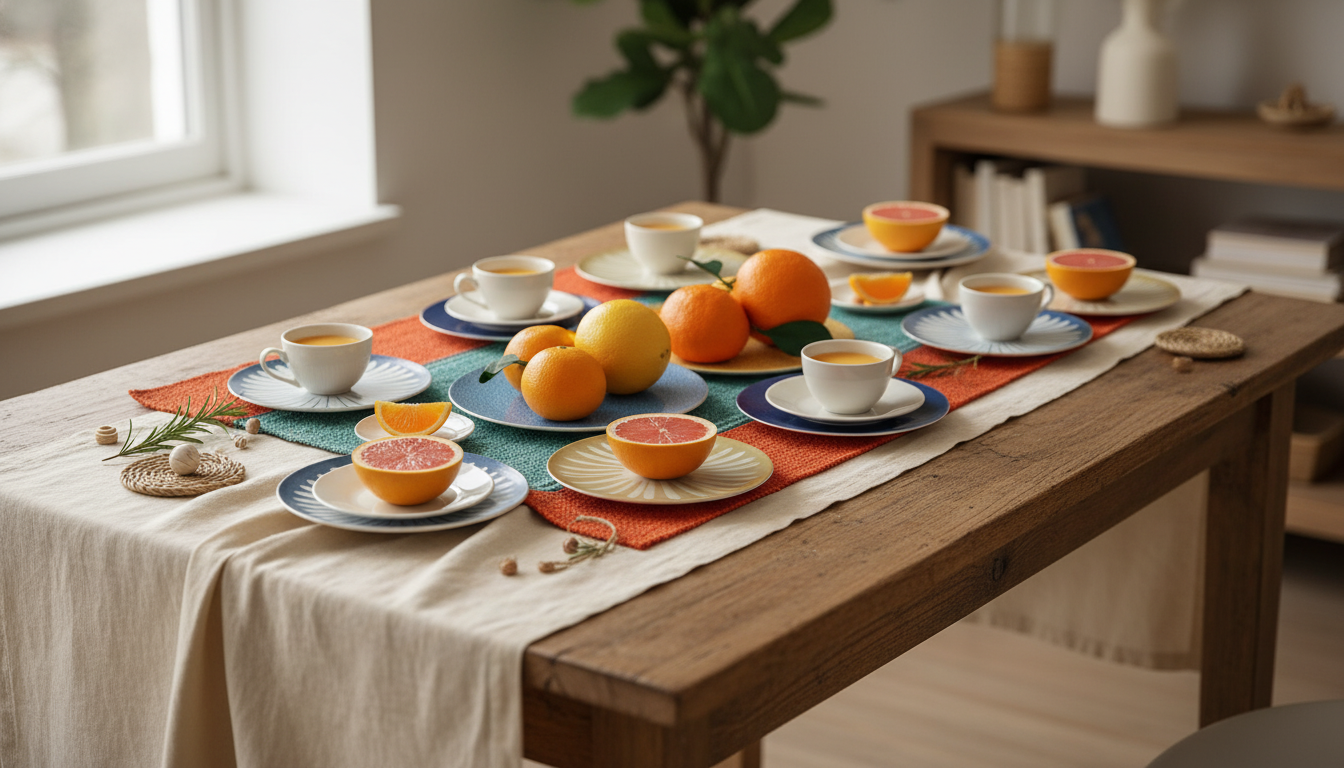
Layered texture is what turns a table from “set” to “styled”: soft next to sleek, matte against shine, low pieces balanced with height, and a cohesive palette that still feels natural. Use the checklist below to build a cozy, rustic, modern, or elegant tablescape that looks intentional from every seat—without overcrowding the place settings.

Start With the Mood: Palette, Finish, and a Simple Rule of Three

Before you pull out plates and candles, decide what the table should feel like. A clear mood keeps the base layers consistent, while smaller accents can shift with the season.

  • Choose a mood label first (cozy, rustic, modern, elegant) and commit to it for the base layers.
  • Pick a 3-color palette: 1 dominant neutral (linen, ivory, charcoal), 1 supporting tone (sage, terracotta, navy), 1 accent (brass, black, glass, or a seasonal pop).
  • Mix 3 finishes for depth: matte (linen, stoneware), reflective (glass, polished metal), and organic (wood, rattan, greenery).
  • Keep patterns to one hero pattern (striped napkin or floral runner) to avoid visual noise.
  • Decide the lighting story early: daylight-friendly (clear glass, pale linens) or evening glow (tapers, amber glass, warm metals).

Fast Style Map: Texture Pairings That Always Work

Style Base Textures Accent Textures Best Centerpiece Direction
Cozy washed linen, soft cotton ceramic, warm wood low, clustered candles + small buds
Rustic raw wood, burlap/linen stoneware, hammered metal foraged greenery + vintage vessels
Modern crisp cotton, smooth stone clear glass, black metal single sculptural element + negative space
Elegant sateen/linen blend, fine porcelain crystal, polished brass/silver tall taper rhythm + floral focal

Step-by-Step Checklist: Build the Layers in the Right Order

Layering works best when the foundation goes down first and the “sparkle” comes last. This order helps prevent clutter and keeps every place setting functional.

  1. Clear and measure: confirm table length, number of guests, and elbow room (aim for 24–30 inches per person when possible).
  2. Anchor with a base layer: choose a tablecloth for softness or a runner for structure. A bare tabletop can work—just add texture with placemats or a runner.
  3. Add placemats or chargers: define each setting and introduce contrast. Woven round mats soften sharp modern plates; sleek chargers elevate rustic stoneware.
  4. Set the dinner plate, then the salad/bread plate: stack only if it fits the mood (stacking reads cozy/elevated; a single plate reads modern/minimal).
  5. Add napkins as a texture moment: fold simply and focus on fabric. Use rings only if they add a new material (wood ring with linen, metal ring with cotton).
  6. Place flatware with consistency: match metal tone to the mood (brass for warm, black for modern, silver for classic). Avoid mixing more than two metal finishes.
  7. Add glassware by function: water glass + wine glass is usually enough. Add a coupe/flute only for special occasions to preserve breathing room.
  8. Build the centerpiece in layers: start low (runner/greenery), add mid-height (small vases), then height (tapers) while keeping sightlines open across the table.
  9. Repeat a micro-detail 3 times: a sprig of rosemary, a small bud vase, or a subtle ribbon detail makes the design feel curated.
  10. Edit from every seat: remove one item per place setting if it feels crowded. Negative space is a design element.

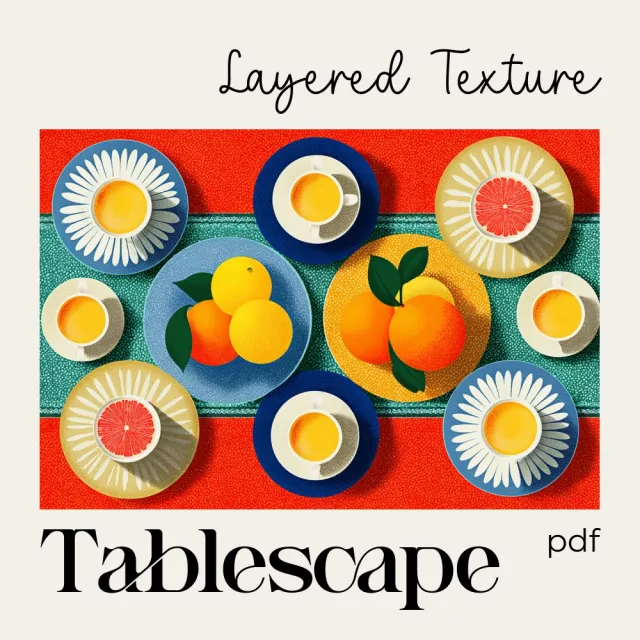
For a ready-to-use, printable version you can keep in a hosting drawer, see How to Create a Layered Texture Tablescape – Step-by-Step Checklist.

Layering Tips That Prevent a Cluttered Look

Cozy, Rustic, Modern, Elegant: Quick Build Recipes for Each Look

AI Inspiration Without Losing Your Personal Style

Printable Checklist and Visual Reference Pack

A single-page checklist helps set the layers in order: base textile → placemat/charger → plates → napkin → flatware → glassware → centerpiece (low-to-high) → micro-details → final edit. If you want a quick, repeatable setup for weeknights and holidays, the downloadable guide keeps everything in one place: How to Create a Layered Texture Tablescape – Step-by-Step Checklist.

To capture your finished table for invitations, menus, or hosting photos, an adjustable desktop stand can help you frame overhead shots steadily: Adjustable Tabletop Phone Stand for Livestreaming & Vlogging.

Quick Etiquette + Safety Notes

If you’re unsure where everything goes, a classic reference for place setting basics is the Emily Post Institute table setting guide. And if you’re using tapers or votives, follow common-sense precautions and review the NFPA candle safety guidance for placement and supervision.

FAQ

What is the easiest way to make a tablescape look layered without buying new décor?

Start with textiles (a runner plus cloth napkins), add one reflective element (glassware or a metal accent), and use a simple low centerpiece like greenery and a few candles. Repeat one small detail three times—like bud vases or herb sprigs—to make the table feel cohesive.

How tall should a centerpiece be so guests can still talk across the table?

Keep most centerpiece elements low (roughly under 10–12 inches) so sightlines stay open, or go very tall and narrow (like tapers) so the visual interest sits above eye level. Avoid wide, bulky arrangements at conversation height.

How do you mix textures and patterns without making the table feel busy?

Limit the table to one main pattern, keep the palette tight (two neutrals plus one accent), and add variety through finishes—matte, glossy, and organic—rather than multiple competing prints.

Was this article helpful?

Yes No
Leave a comment
Top

Shopping cart

×