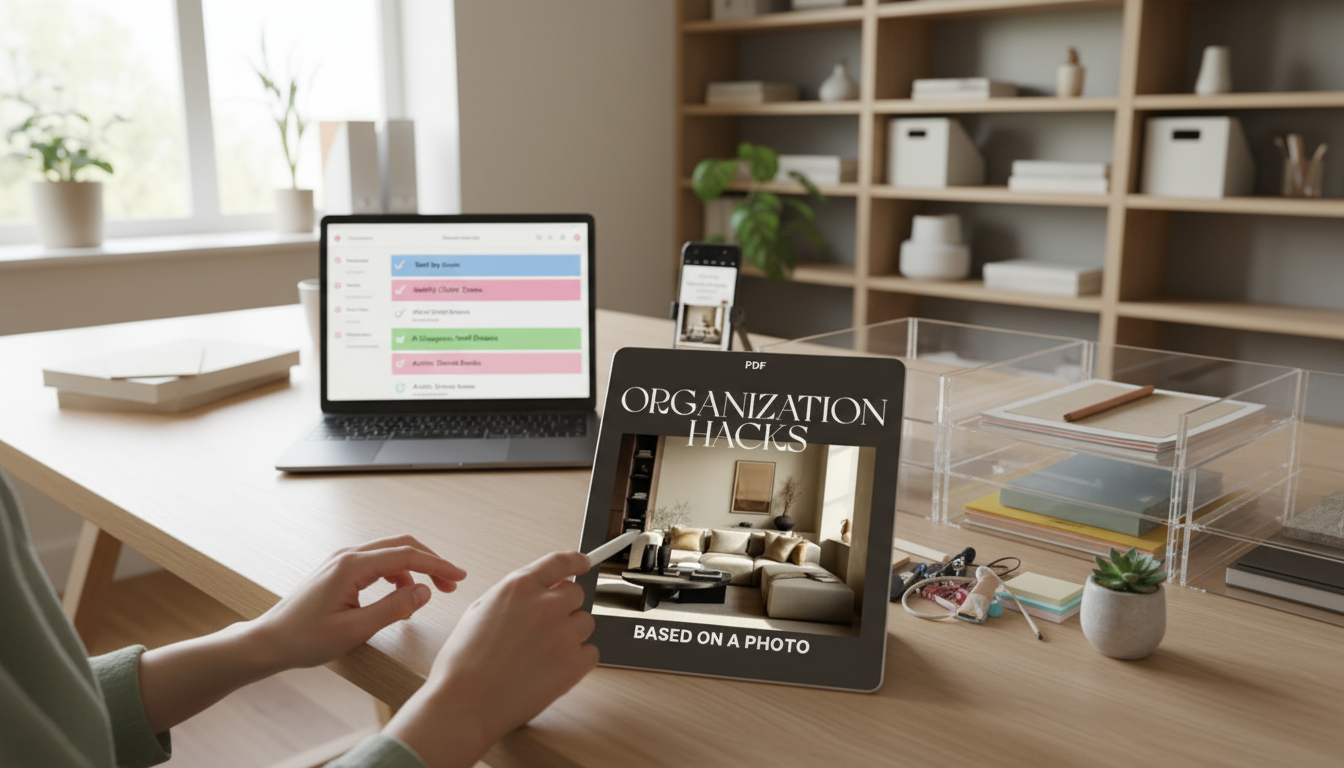
A single photo can reveal what’s really slowing a space down: crowded surfaces, missing “homes” for essentials, and storage that doesn’t match daily routines. With a practical AI workflow and a simple checklist, it becomes easier to turn visual clutter into a clear, step-by-step reset for a desk, entryway, kitchen counter, or any high-traffic zone.
When you look at your own room every day, your brain edits the mess into “normal.” A photo—especially when paired with AI analysis—makes patterns obvious and repeatable.
AI suggestions are only as helpful as the photo you provide. The goal is to capture reality (habits), not a staged “after” look.
For photo consistency (especially if you want reliable before-and-after comparisons), a stable camera angle helps. An adjustable tabletop phone stand for filming before-and-after shots makes it easy to retake the same viewpoint week after week.
The biggest win comes from translating what you see into tiny actions that don’t require a full Saturday. Use this sequence to go from snapshot to system.
If you want a ready-made structure for this workflow, the AI decluttering checklist download converts photo observations into clear, bite-sized tasks you can reuse in different rooms.
| What shows up in the photo | Likely cause | Quick organization hack | Checklist item |
|---|---|---|---|
| Mail and receipts spread across the desk | No paper intake zone | Add a single paper tray + 5-minute daily sort | Set up ‘Inbox’ tray and schedule a daily paper sweep |
| Chargers and cables tangled near the outlet | No cable routing or labeling | Use cable clips + label ends by device | Route cords and label each cable end |
| Pens, sticky notes, tools mixed together | Categories sharing one container | Split into 2–3 cups/bins by task | Create separate containers for writing, cutting, and notes |
| Items piled at the edge of the workspace | No “landing zone” for in-between items | Add a small catchall with a daily empty rule | Place catchall tray and empty it each evening |
| Frequently used items stored in a high shelf | Storage doesn’t match frequency of use | Move daily-use items to arm’s reach | Relocate daily-use items to the top drawer/desktop caddy |
Privacy note: before uploading any image, review the tool’s settings and your own comfort level. The FTC’s privacy guidance is a helpful baseline: How to Protect Your Privacy Online. For a deeper framework on privacy practices, see NIST resources: NIST Privacy Framework.
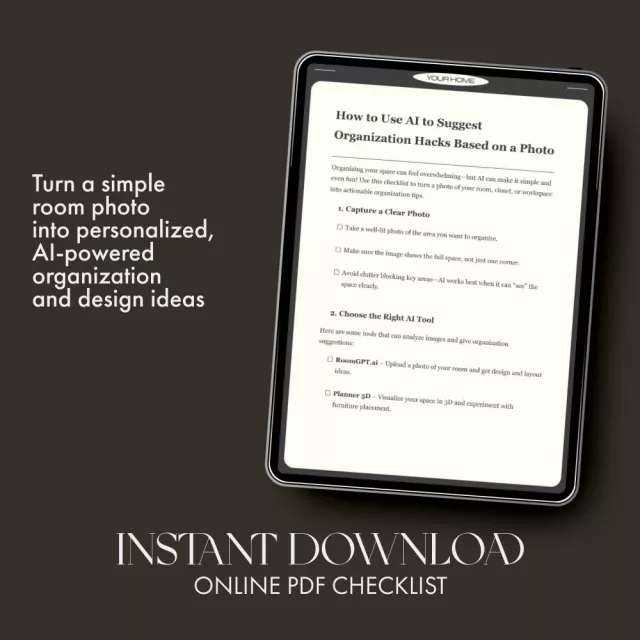
If you prefer a done-for-you format, a digital checklist helps you move quickly from “I see the mess” to “I know what to do next.” The How to Use AI to Suggest Organization Hacks Based on a Photo | Digital Checklist for Smarter Home & Workspace Organization | AI Decluttering Guide Download is designed for desks, shared workspaces, and high-traffic zones where clutter builds fast—plus a repeatable routine you can run again whenever life gets busy.
Cover or blur sensitive documents, avoid capturing faces or personal identifiers, and review the tool’s privacy and data retention settings before uploading.
Provide constraints like time, routines, who uses the space, and what must stay visible. Ask for two or three alternative setups, test one change at a time, and take a new photo after a week to confirm what actually holds.
Weekly works well for fast-clutter zones like a desk or entryway, monthly for stable storage like closets and cabinets, and seasonally for high-volume categories such as paper archives or tech accessories.





Leave a comment