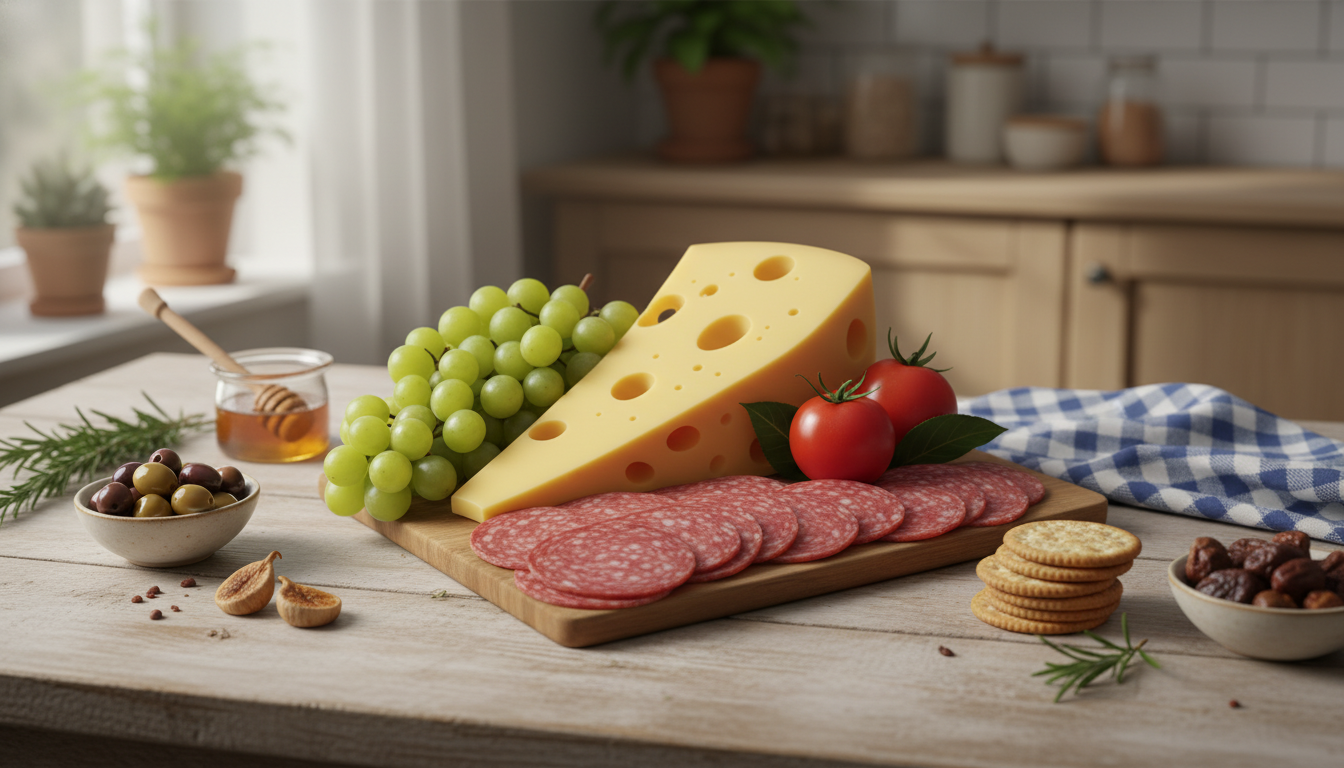
A great charcuterie table balances flavor, texture, color, and flow—so guests can graze easily without the spread feeling chaotic. With a few smart choices, the table can look abundant without overspending, and it can stay practical for serving and food safety.
Before buying a single wedge of cheese, get clear on what the table needs to do. A pre-dinner appetizer table can be lighter and more decorative, while a meal-style grazing spread needs more filling carriers and proteins. Dessert-forward setups lean into fruit, chocolate, and a soft cheese pairing that feels intentional.
Next, measure your surface area and plan traffic flow. If guests can access the spread from two sides, lines move faster and the table stays neater. Keep a small “landing zone” nearby for plates, napkins, and a trash bowl so guests aren’t hovering over the food while opening packets or searching for utensils.
Finally, estimate how long people will graze. For a 30–60 minute window, you can set most items out at once. For 2–3 hours, plan refills—especially for temperature-sensitive meats, soft cheeses, and dips. Confirm dietary needs early (vegetarian, gluten-free, nut-free), and create clear separation to reduce cross-contact.
The easiest way to build a crowd-pleasing charcuterie table is to use a repeatable formula—then swap ingredients based on your theme and budget.
Pick a mix of textures so the table feels varied without being overcrowded. A thin-sliced option (prosciutto), a firm cured option (salami), and a spreadable option (pâté or nduja-style spread, if desired) covers the spectrum and creates natural “focal points” for styling.
Choose across styles: one soft (brie or chèvre), one semi-firm (gouda or havarti), one hard (aged cheddar or manchego), plus an optional bold choice (blue or smoked). This range keeps bites interesting and helps different wines and non-alcoholic drinks pair easily.
Carriers do heavy lifting for both fullness and flow. Include crackers, sliced baguette or crostini, pretzels, and a gluten-free option if needed. Stacking these items also adds height, which makes the table look more abundant.
Fresh fruit and vegetables brighten the spread and reset the palate between rich bites. Grapes, berries, apples or pears, cherry tomatoes, cucumbers, and roasted peppers all work well. Aim for at least two colors so the table reads “intentional,” not random.
Bridges connect sweet, salty, and tangy elements: honey, jams, whole-grain mustard, pickles, olives, marinated artichokes, nuts, or chocolate. Add at least one dip or spread (hummus, tapenade, or herbed cheese) to create a natural gathering point—often you can use slightly less meat and cheese when a great dip is available.
Portions depend on whether the table is a starter or the main meal. For appetizer-style grazing, plan lighter amounts. For meal-style grazing, increase proteins and carbs and lean into produce so guests feel satisfied without the spread turning into a meat-and-cheese pile-up.
When serving a crowd, pre-sliced cheeses and pre-cut produce keep people moving. Instead of overloading the table at the start, hold backup items in the fridge and replenish in small batches—your spread will look fresher for longer, especially in warm rooms.
| Table Type | Meat | Cheese | Carriers | Produce + Extras |
|---|---|---|---|---|
| Appetizer graze (45–90 min) | 1.5–2 oz | 1.5–2 oz | 2–4 oz | A handful of fruit/veg + 1–2 tbsp pickles/jam |
| Meal-style grazing | 2–3 oz | 2–3 oz | 4–6 oz | More fruit/veg + 2–3 tbsp dips/extras |
| Dessert-forward add-on | 0–1 oz | 1–2 oz (incl. soft cheese) | 2–3 oz | Fruit + chocolate + nuts + honey |
Perishable foods shouldn’t sit at room temperature indefinitely. A practical guideline is the two-hour rule—shorter in hot environments—so serve soft cheeses, sliced meats, and dips in smaller portions and replace with fresh, chilled refills as needed. For official food-safety guidance, reference the CDC’s food safety basics and the USDA’s cold food safety recommendations.
Crafting the Perfect Charcuterie Table – Ultimate Charcuterie Guide, eBook & Styling Checklist (Digital Download) bundles a structured ingredient formula, portion guidance, and a styling checklist you can keep on your phone or print for day-of setup.
To capture your finished spread without awkward angles (or asking a guest mid-party), an Adjustable Tabletop Phone Stand for Livestreaming & Vlogging can help you shoot overhead or side angles hands-free—useful for quick hosting photos, menu labels, or time-lapse assembly.
Prep components 1–24 hours ahead by slicing firm cheeses, washing produce, and portioning dips. Assemble most items 20–40 minutes before serving, then add cut fruit, herbs, and wet items last while keeping perishables chilled until close to serving.
Use bowls as anchors, add height with folded meats and stacked crackers, and group items in clusters instead of spreading them thin. Fill small gaps with herbs, grapes, nuts, and pickled items, and refresh in small batches rather than overloading the table.
For appetizer grazing, plan about 1.5–2 oz each of meat and cheese per person. For meal-style grazing, increase to about 2–3 oz each and add more carriers and produce to keep the spread balanced and filling.







Leave a comment