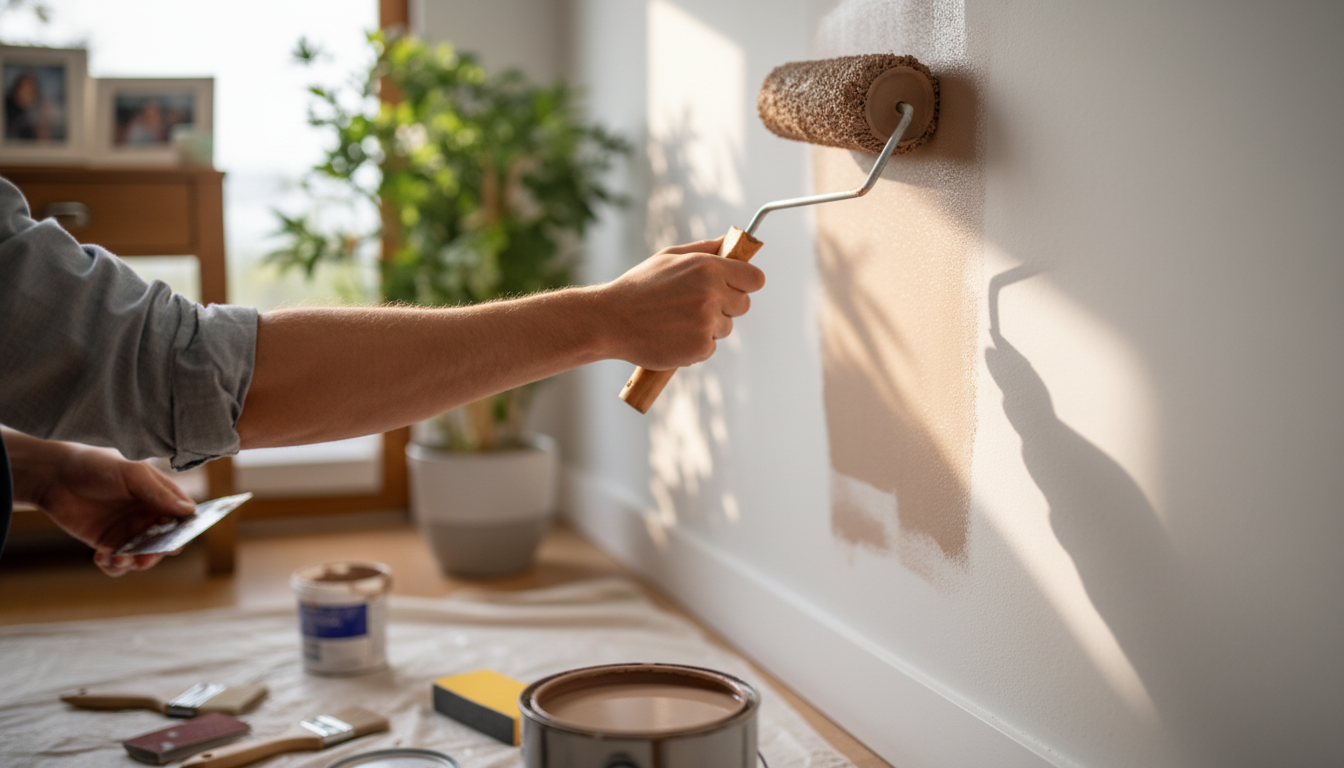
Scuffs, nail holes, and mystery marks can make an otherwise tidy room feel unfinished. With the right materials and a simple sequence, most wall issues can be repaired and blended in during a single afternoon—without repainting the entire room. The key is to diagnose what you’re seeing (texture, sheen, stain type), prep the surface so repairs bond, and then “feather” both patch and paint so the eye can’t find the edges.
If your home was built before 1978 and you’ll be sanding or scraping, follow lead-safe guidance. The EPA’s Renovation, Repair and Painting (RRP) program explains when precautions and certified help are needed: https://www.epa.gov/lead/renovation-repair-and-painting-program.
| Wall problem | Best quick fix | Dry time (typical) | Blend tip |
|---|---|---|---|
| Scuffs and fingerprints | Clean first; repaint only if discoloration remains | 10–30 min | Avoid over-scrubbing flat paint; dab and lift instead |
| Nail holes | Lightweight spackle; sand flush; touch-up paint | 30–60 min | Prime if patch flashes through |
| Small dents | Setting-type compound in thin layers | 20–90 min | Feather 3–6 inches past damage |
| Hairline cracks | V-groove lightly; fill; consider mesh tape if recurring | 30–90 min | Don’t just paint over cracks—will reappear |
| Peeling paint edge | Scrape loose; sand; spot-prime; repaint | 1–3 hrs | Prime the exposed paper or bare drywall to prevent bubbles |
| Water stain | Stain-blocking primer; repaint | 1–2 hrs | Fix moisture source before covering |
For old homes and ongoing dust concerns, the CDC’s overview of lead in paint and household dust is a helpful reference: https://www.cdc.gov/lead/prevention/sources/paint.html.
To check your work before paint, shine a light across the patch. A small phone tripod can help keep the light or your reference video steady while your hands are full—see Adjustable Tabletop Phone Stand for Livestreaming & Vlogging.
Primer is less about “extra steps” and more about controlling porosity. Without it, patches can drink up paint, dry duller, and create a visible ring—especially in eggshell and satin finishes.
If you want a printable, step-by-step version you can keep with your paint supplies, grab the Quick Fix Magic for Your Walls checklist download.
Touch-ups can dry differently when the paint wasn’t fully stirred, the wall has faded over time, or the sheen/tool doesn’t match (brush vs roller). Let the area dry completely before judging, and blend with a mini roller to match surrounding texture and reflectivity.
No—very small spackle spots on low-sheen walls may cover fine without primer. Prime when drywall paper is exposed, stains are present, or the patch is larger than a few inches; use a stain-blocking primer for water marks to prevent bleed-through.
Use thin compound and feather edges wide, then recreate texture with a sponge/roller technique or a small-area texture spray (practice on cardboard first). Once the texture looks right, prime if needed and roll paint to match the surrounding pattern.


Leave a comment